Roti making robot rotimatic
"Rotimatic is the world's first robotic kitchen appliance. It measures atta, mixes and kneads it to make perfect dough balls. These are flattened and cooked into round, soft and puffed golden brown rotis. All in 90 seconds!"
"From dry flour to freshly puffed flatbread in a minute. This is possible with a 32-bit microprocessor that harmoniously orchestrates 10 motors, 15 sensors and 300 parts in parallel. The 10 motors work together based on the data from 15 different sensors, which measure things like temperature, position and the most complex and important metric, that is, consistency. It manages all processes seamlessly to save every second possible."
Quotes: https://rotimatic.com
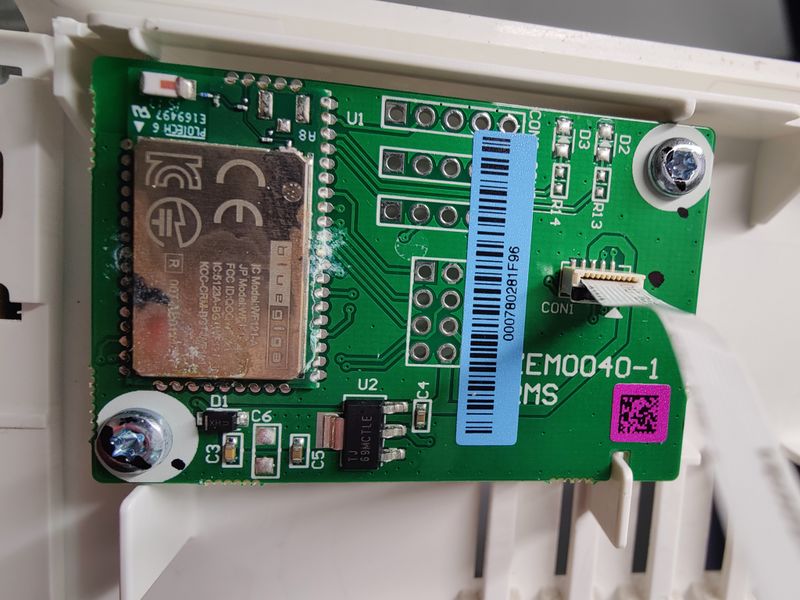
BlueGiga WF121 WiFi Module & PCB
Also see: https://wiki.hackerdojo.com/index.php?title=Rotimatic works in process with roti robo replications two & three.
What could go wrong with such harmoniously orchestrated symphony of motors, sensors and 300 parts?
Contents
Website Support Chat
>> Hacker says... Hello, I am assisting a friend in repairing their machine. Can you please give me any information on what the error code "0x6" refers to? When plugged in the screen comes on when pressing power, but only displays that error code with teh message "Trouble powering on!". You will be notified here and by email (x@hacker####.com) >> rotomatic says... New Delhi, India D Hi , Thanks for reaching out! We've heard you're having a bit of trouble with your Rotimatic Unit. To sort this out quickly, we recommend connecting with our support team through the Live Chat option on the Rotimatic Application. Just start a chat when you have your Rotimatic handy for troubleshooting (if needed). Before you begin, make sure your Rotimatic is switched on and connected to Wi-Fi to avoid any delays. (Snip how to get app) (Snip screenshots of how to "Contact Us" inside app) >> Hacker says... Can support contact me directly via e-mail or other means? >> rotomatic says... Hi, You can call up our support team directly by calling on +1 475-405-3257 or email to support@zimplistic.com the team will help you regarding the same. >> Hacker says... ThanX!
Initial Support Call
@21:30 hours on a Friday call support phone number provided. 10 minute call with Clare after very brief hold.
>> Hacker says...
I'm trying to get more information on an error code.
The robot is having trouble powering on.


>> rotomatic says...
[Some pleasantries and such]
Can I get your name?


>> Hacker says...
####.


>> rotomatic says...
Can I get [xyz] information about machine?


>> Hacker says...
I'm sorry I can not provide any additional personal information at this time.


>> rotomatic says...
are there any red lights on the side of the device?

have you tried pressing each buttons 5-8 times?

kindly make a short video of turning on the machine, and pressing buttons.

use the automatic application to connect and do a 30-60 minute video call.

if not now a session can be scheduled for anytime when you're available [day or night].


>> Hacker says...
Can you provide me with any more specific information about error code "0x6"?


>> rotomatic says...
it's a trouble code that indicates the machine is not able to fully turn on.

[mutually exchanged pleasantries and conclusion of call]
Follow-up Support Call
@15:00 hours on a Thursday call support phone number provided. 10 minute call with D.
>> Hacker says...
I'm repairing a machine and have followed the directions from support earlier.
I'm still having some issues getting the machine to start up.
I've replaced the blown Thermal Fuse and looking for the reset procedure.
The device has gone from a 0x6 error to 0x5 with a Later option.
After doing the initial start up homing it lands on a error message about too hot.

{Further discussion about connecting to the internet and using the app for support}
{Discussed various reasons this isn't an option, asked about off-line update options}

Can you provide updated firmware so I can attempt a update via USB Thumb Stick method?

>> rotomatic says...
{Some consternation over who/how the machine was opened and repaired}
Send an e-mail to support with your information for additional follow up.

{Discussed a few other details and concluded call}
Support E-mail
- Sent an e-mail to support [at] simplistic [dot] com with general inquiry for firmware
- Got an instant automatic response to the inquiry
- 2 minutes later Jason messaged that they were looking in to it
- A few minutes later they sent information on update and copy of firmware
- Intructions:
- Use 16GB or smaller USB Thumb Drive (Worked with 512MB)
- Format with FAT32, not quick format (Worked with FAT16)
- Extract Zip file
- Copy
update.imgto USB Thumb Drive - Insert USB with machine unplugged
- Plug machine in, wait 60 seconds (should here ~20 sec tone)
- Machine should reboot itself, usual quick beep
- May still have invisible error
0x5press 4th button "Later"
- Intructions:
Images
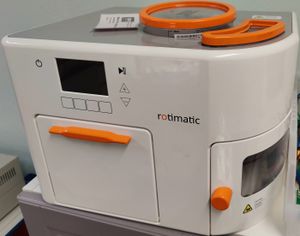
(Complete roti making robot machine prior to deep probing and possible resolution of "0x6" error)
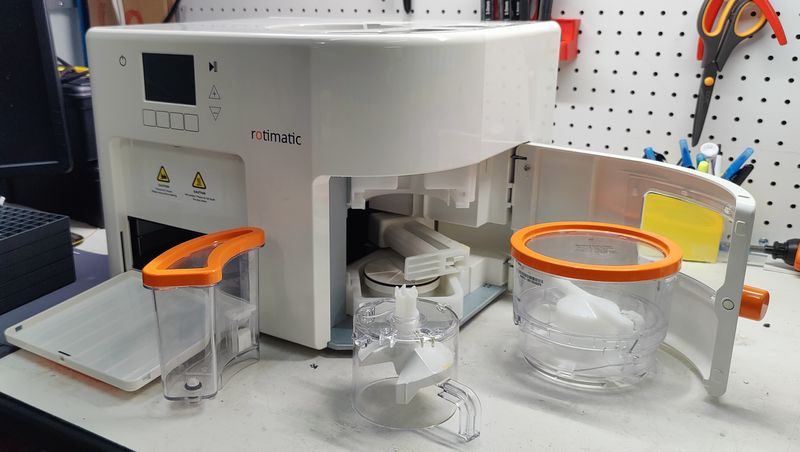
(Complete enclosure and mixer disassembly with AC power supply components removed.)
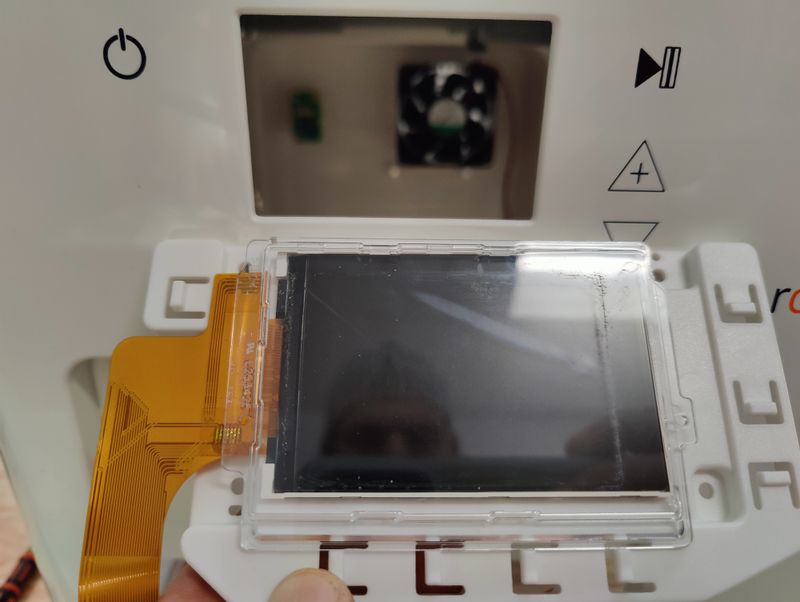
(Front panel LED showing cropped portion (dust/dirt line) of right and top edges of screen when fitted behind front enclosure.)
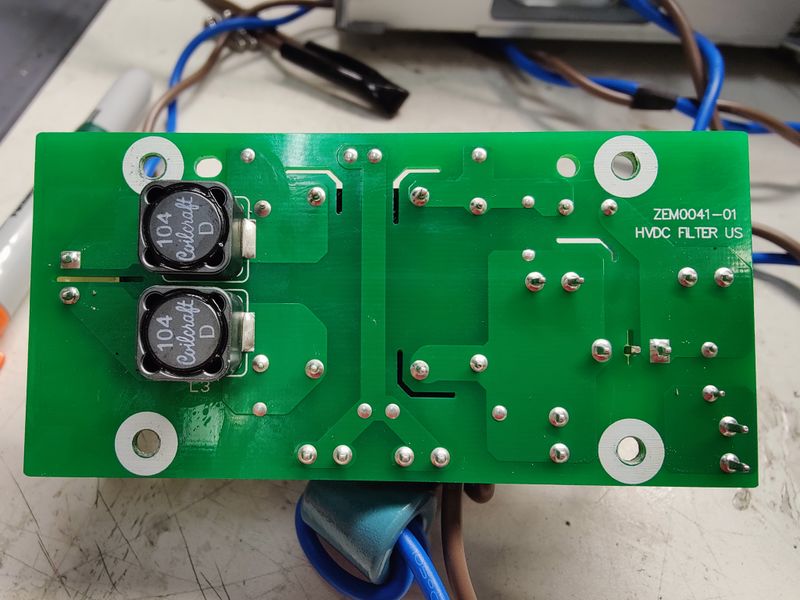
(Bottom view of ZEM0041-01 PCB with two 104 Coilcraft inductors.)
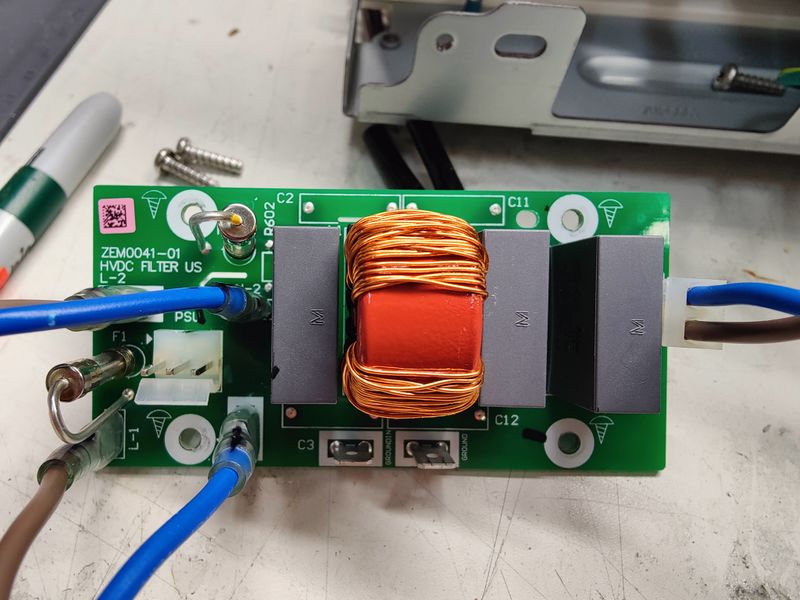
(High Voltage DC Filter for US 120 volt AC with multiple fuses and components.)
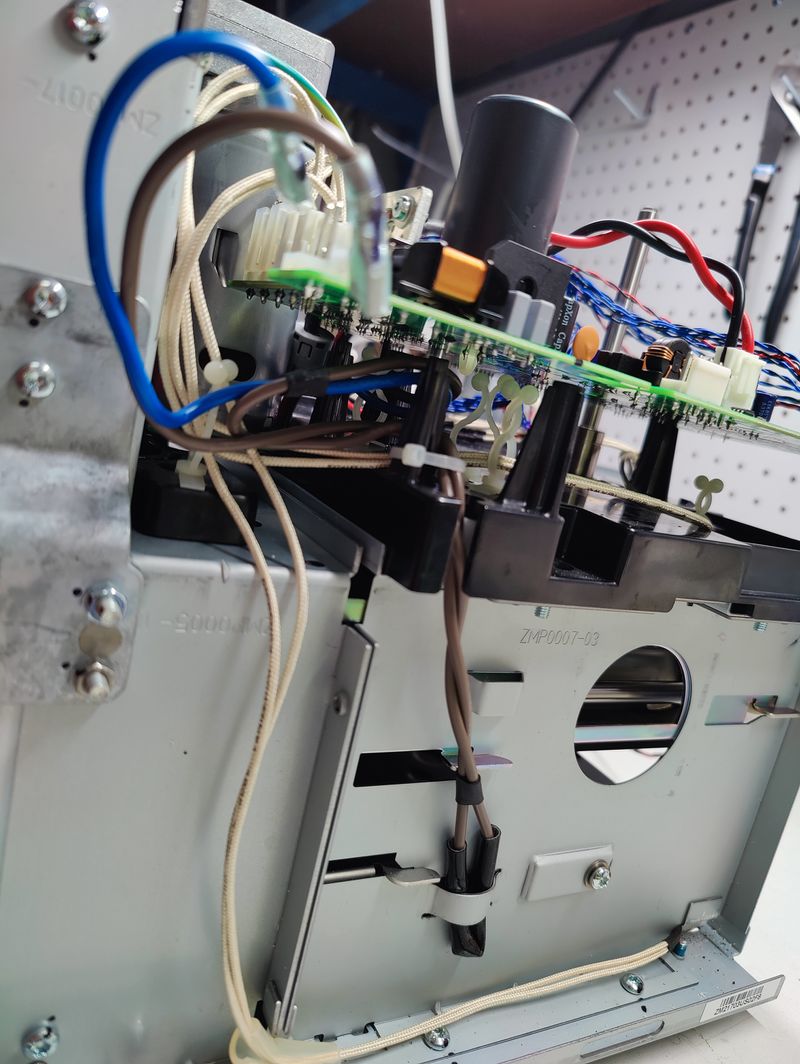
(Side view of brown mains wire with extra insulation folded and secured enclosing thermal safety disconnect fuse.)
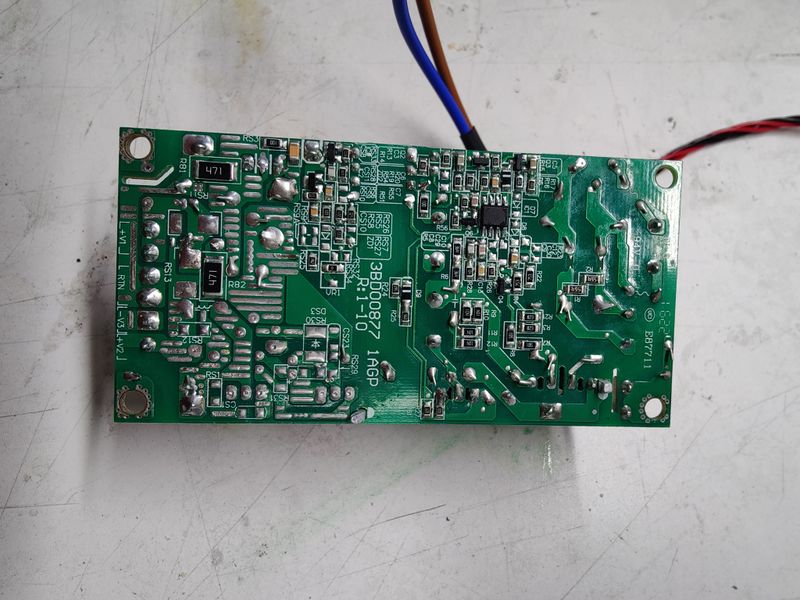
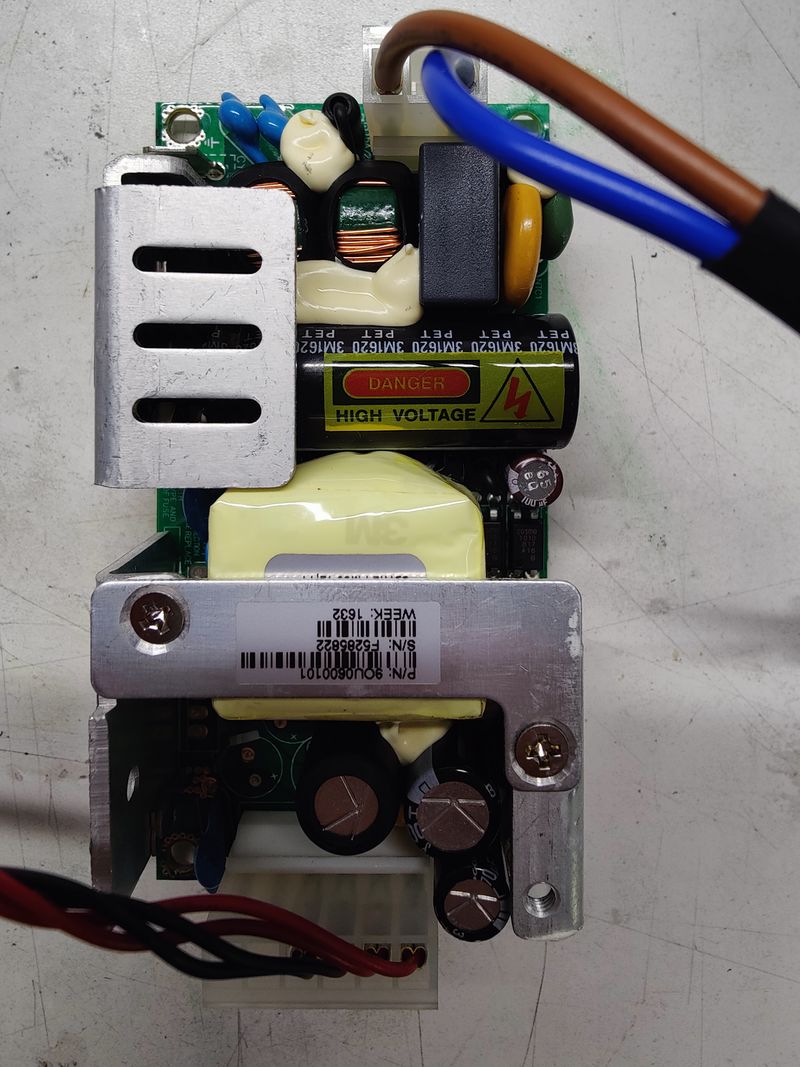
(US 120 volt AC circuit board.)
(Main power assembly directly connected to AC mains input. High voltage capacitor and components.)
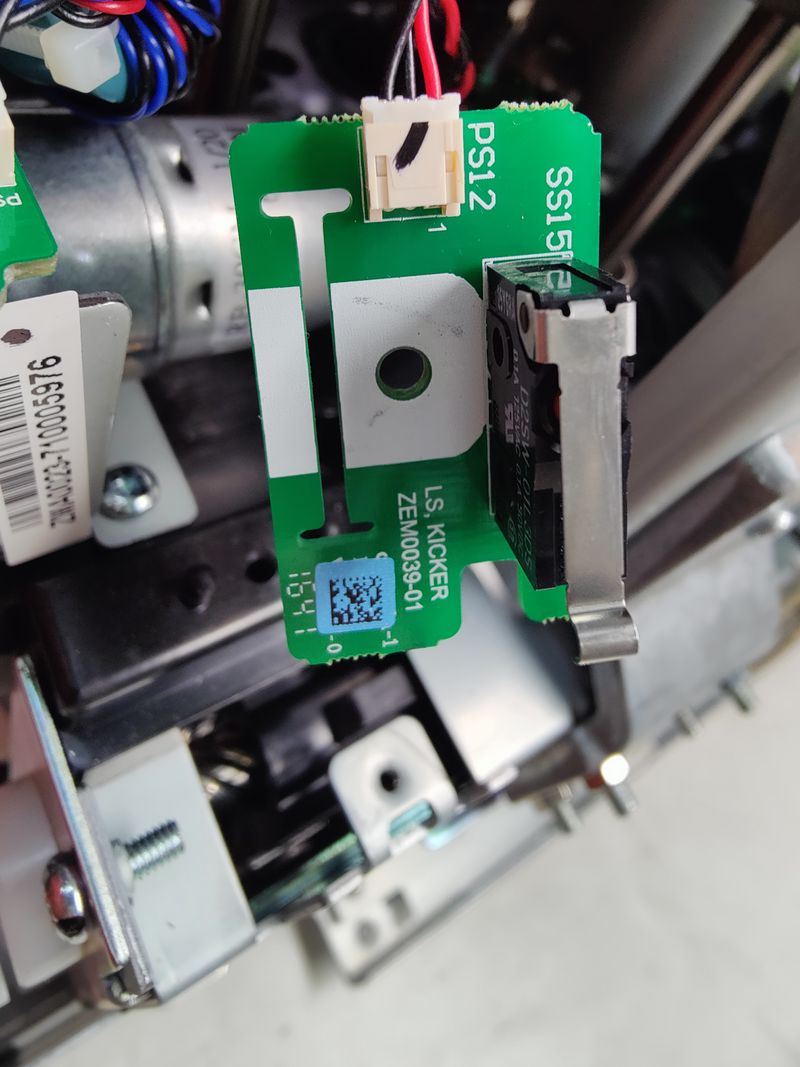
(Limit switch that detects full retraction of "Kicker", note plastic piece with raised section visible thru gap directly below bottom of PCB attached to screw rod.)
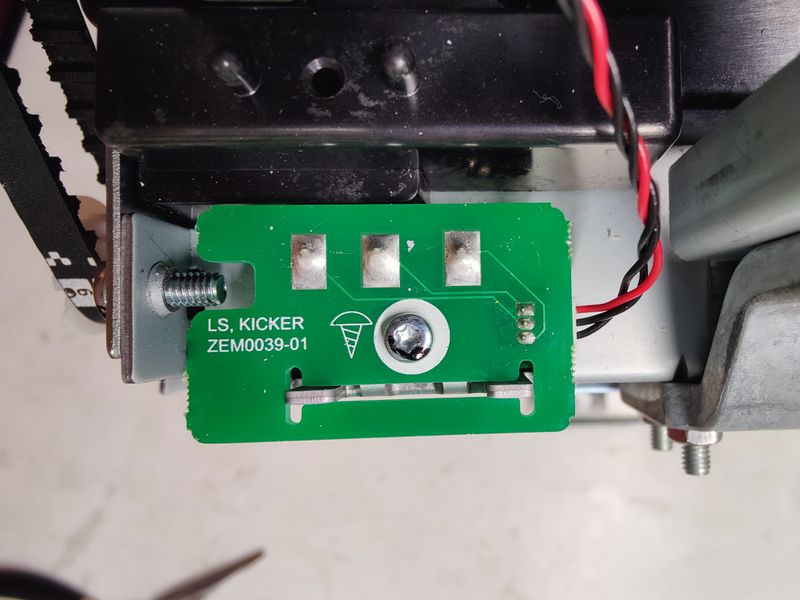
("Kicker" PCB for limit switch.)
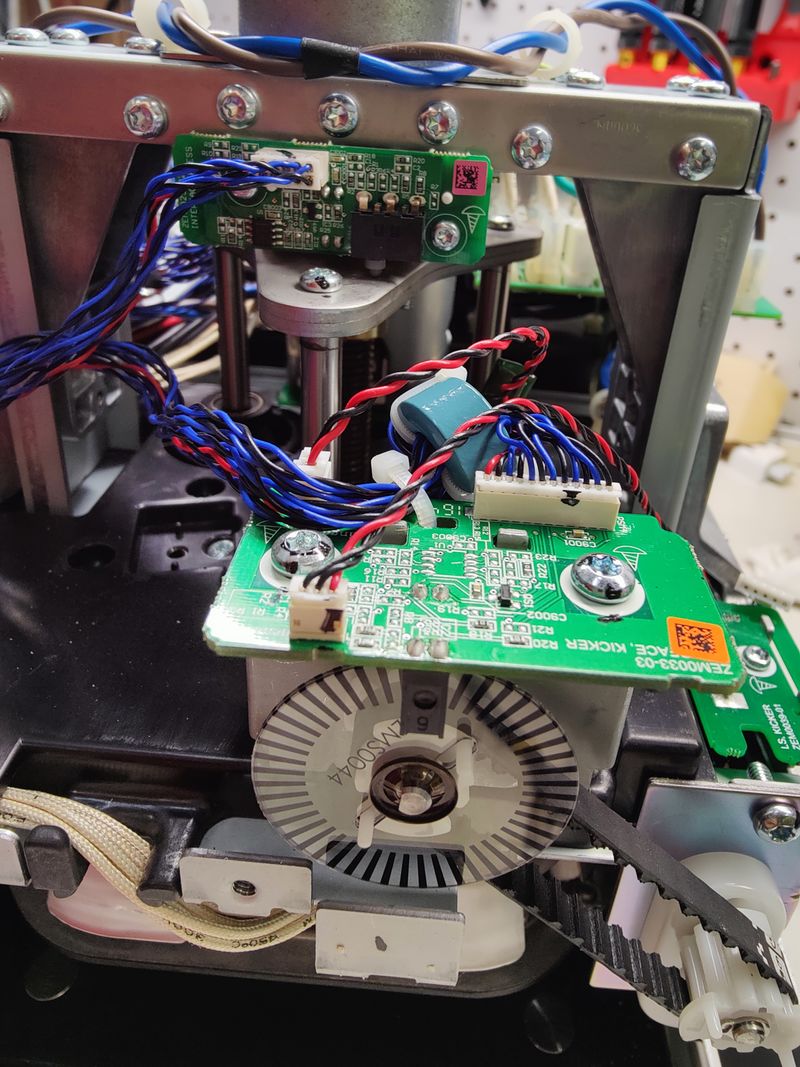
("Kicker" PCB that controls the horizontal roti pusher/ejector from back to front inside machine. Optical IR encoder wheel/disc connected to motor, belt and gear assembly. Upper PCB has upper limit switch for vertical pressing motor.)
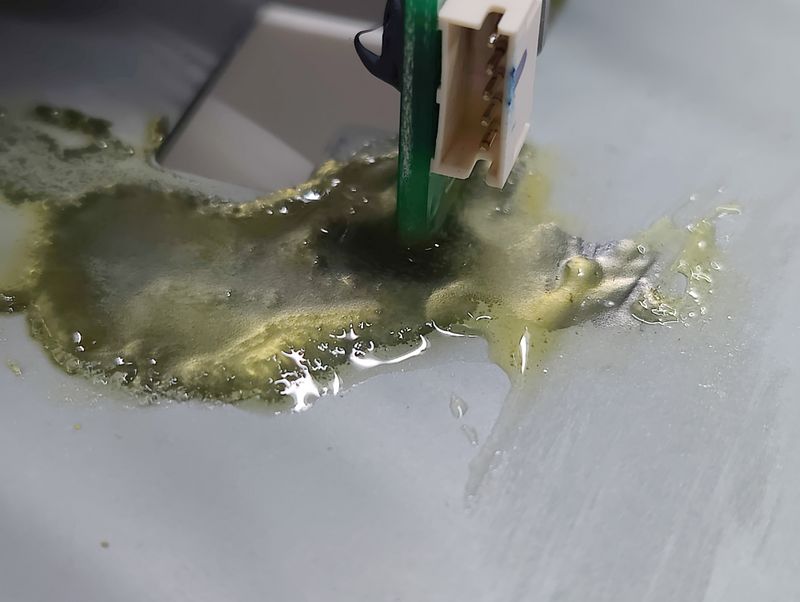
(Small puddle of oil corroding metal under PCB connected to load cell.)
(Load cell and sensor PCB with geared motor assembly.)
(Load cell and sensor PCB with geared motor assembly.)
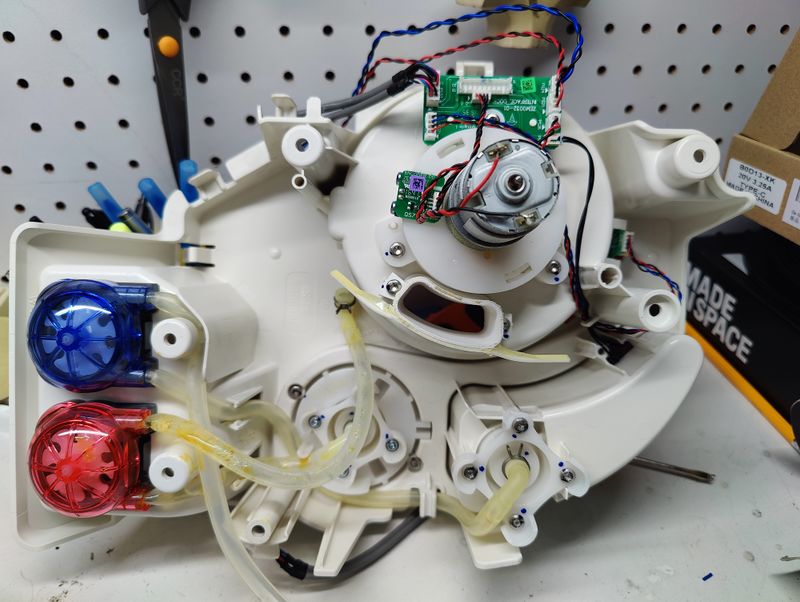
(Bottom view of flour, water and oil dispensers with pumps motor tubes and sensors.)
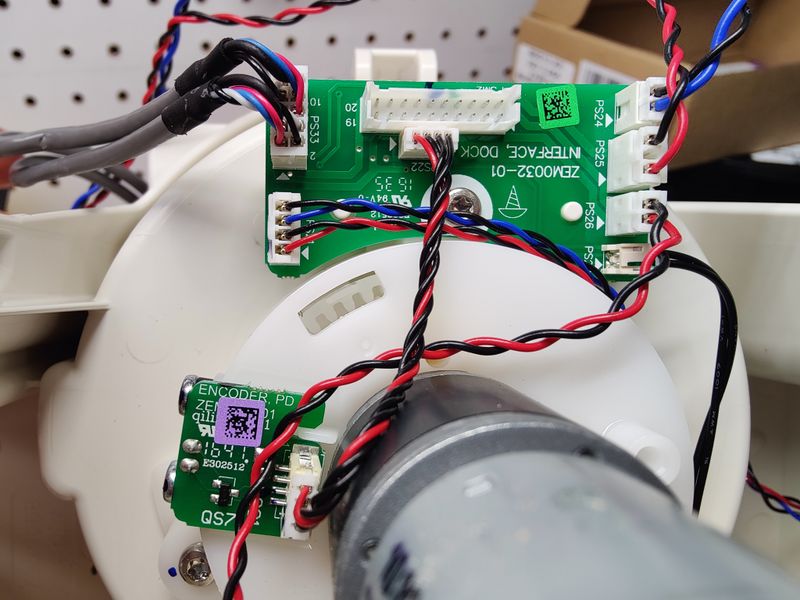
(Bottom view of flour dispenser mechanism located on top of the machine. PCB board for distribution of multiple connectors and separate encoder board for motor. ZEM0032-01 INTERFACE, DOCK ZEM####-01 ENCODER, PD)
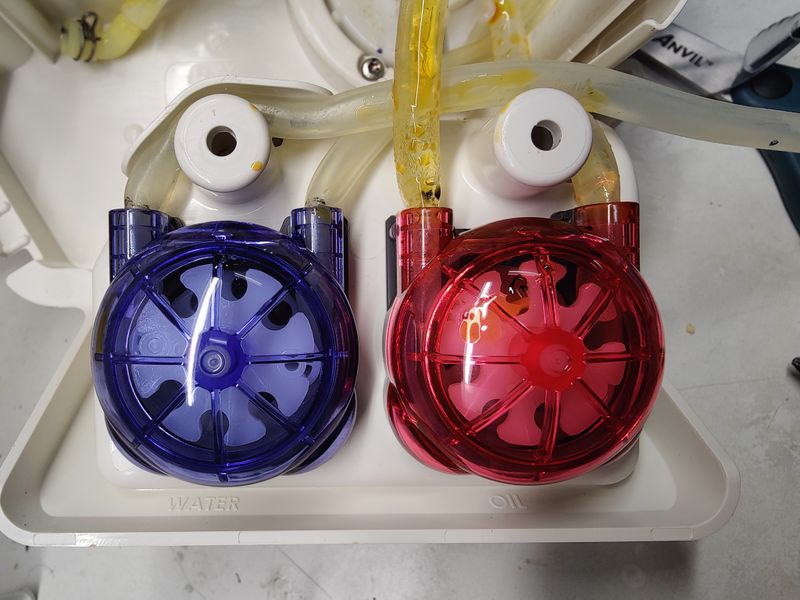
(Blue'ish and red'ish peristaltic pumps for water and oil driven by DC motors.)
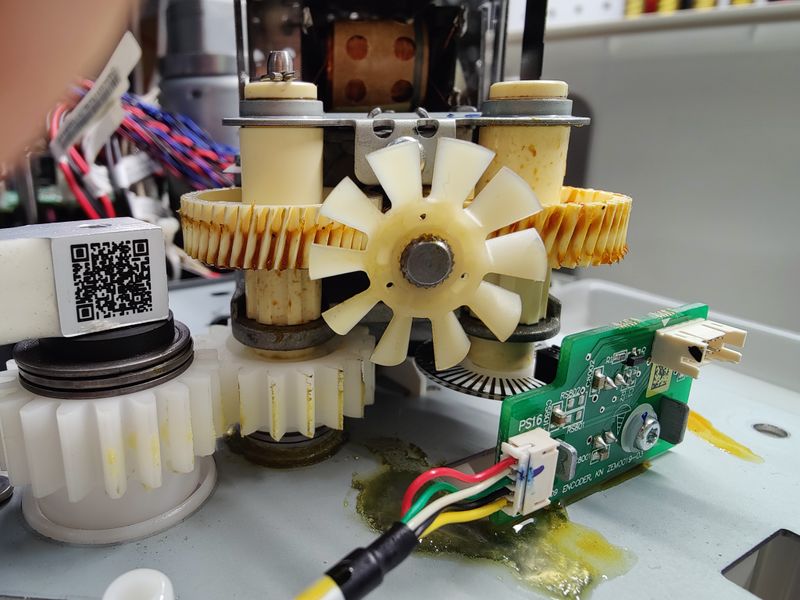
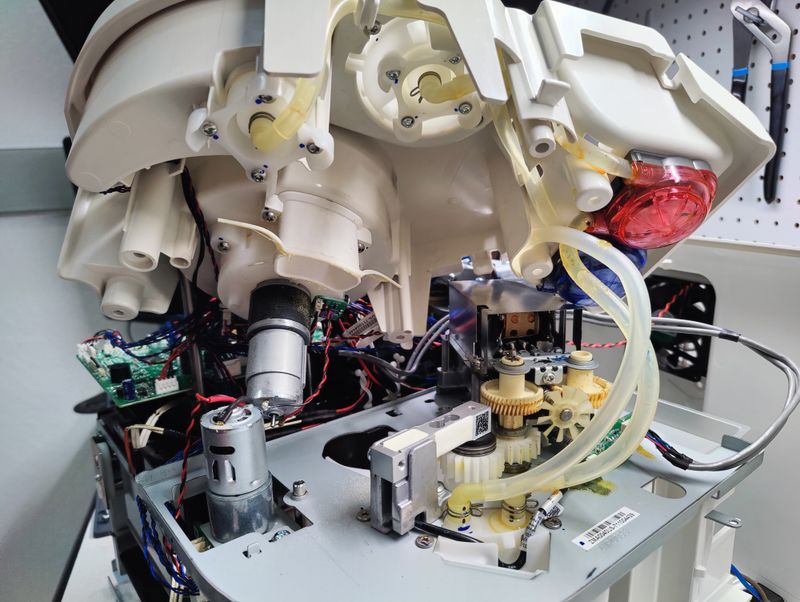
[[File:Roti rotimatic high speed mixer motor gears load cell.jpg (Closer view of high speed motor with horizontal metal screw drive to plastic gears and cooling fan at end of shaft. Load cell in lower left and red/blue pumps upper right.)
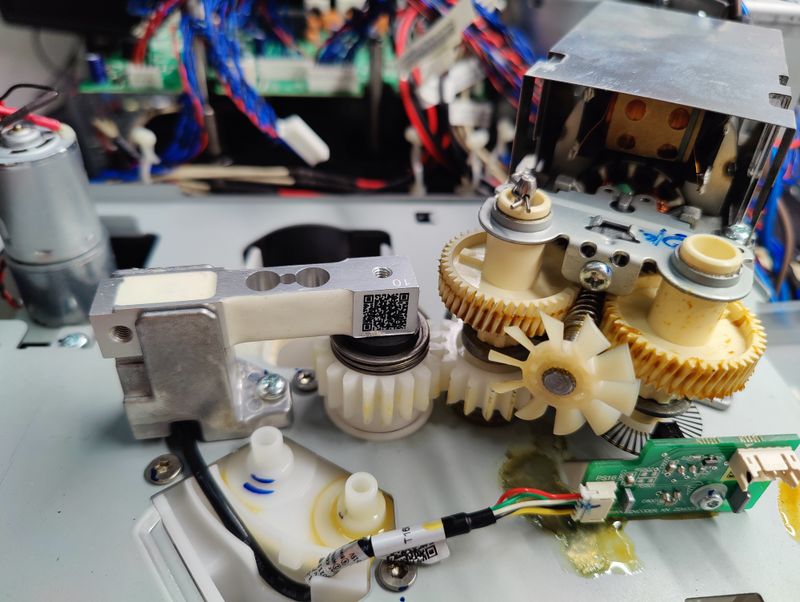
(Removal of upper mixer assembly with attached DC motor and two pumps. Motor with lower limit switch and ir sensor on left. Center is a load cell with inscription "10" connected to series of gears driven by horizontally mounted motor. Two tubes from pump connect with spring clips and load cell PCB.)
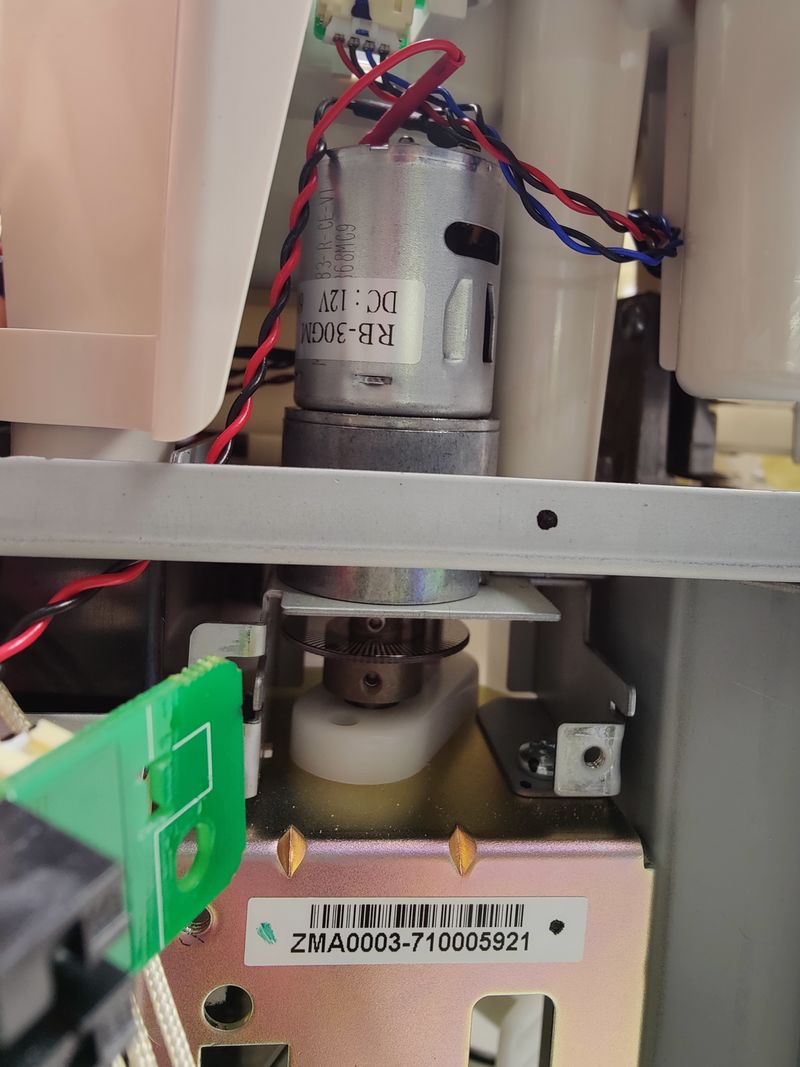
(RB-30GM 12 volt DC motor with gear box connected to shaft with disc/wheel for ir position sensor. Installed at front-right side of machine and read by ZEM0031-04 PCB.)
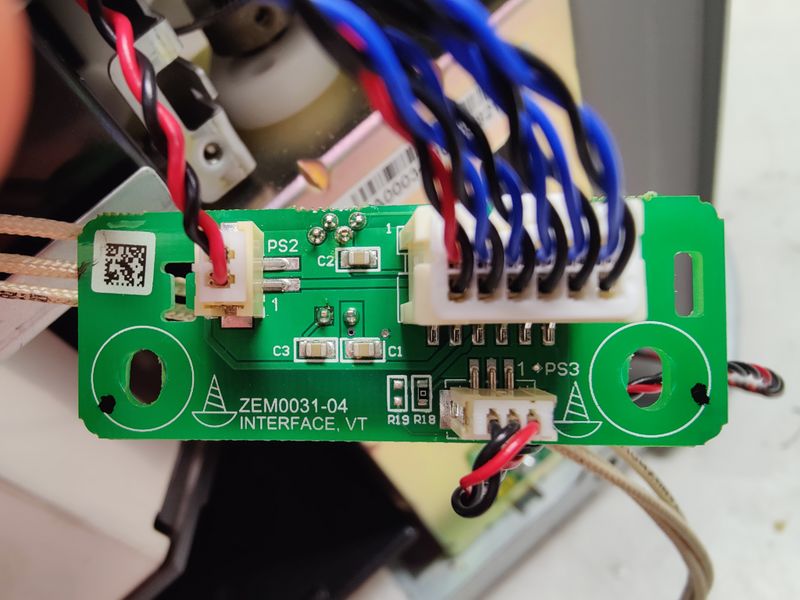
(Back of infrared sensor with connectors to main board and lower limit switch. R19 unpopulated, R18 populated with 0 ohm resistor jumper and 3 discrete SMD capacitors. ZEM0031-04 INTERFACE, VT)
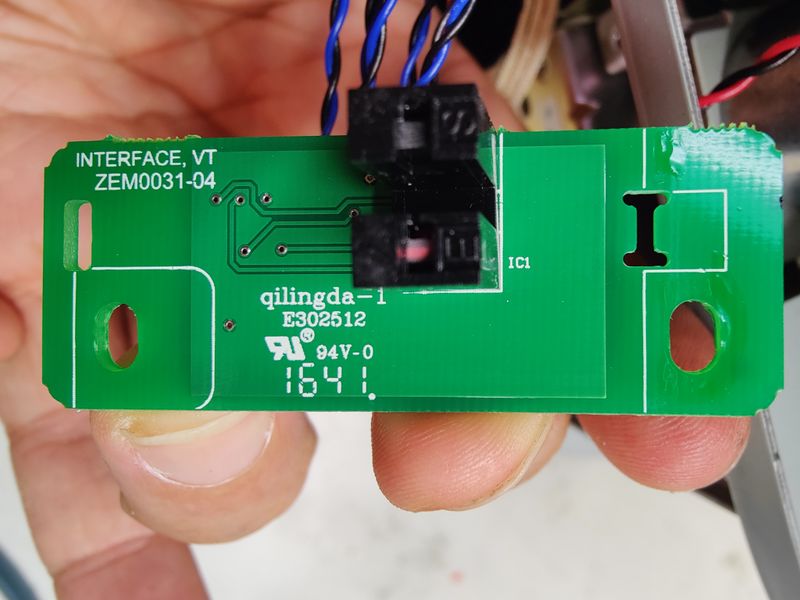
(Infrared (IR) position sensor "IC1" that optically reads marked disc connected to motor. Positioned above lower limit switch on front-right side of machine. ZEM0031-04 INTERFACE, VT)
(Back of lower limit switch PCB installed in front-right side of machine. 3 pin connector daisy chained to another sensor board. ZEM0024 - 01 LS, VT)
(Lower limit switch installed on front-right side of machine. ZEM0024 - 01 LS, VT)
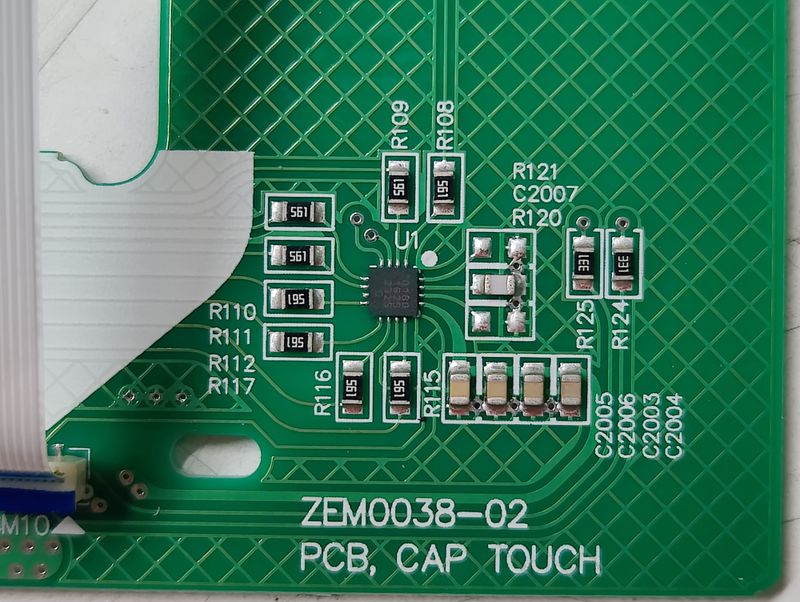
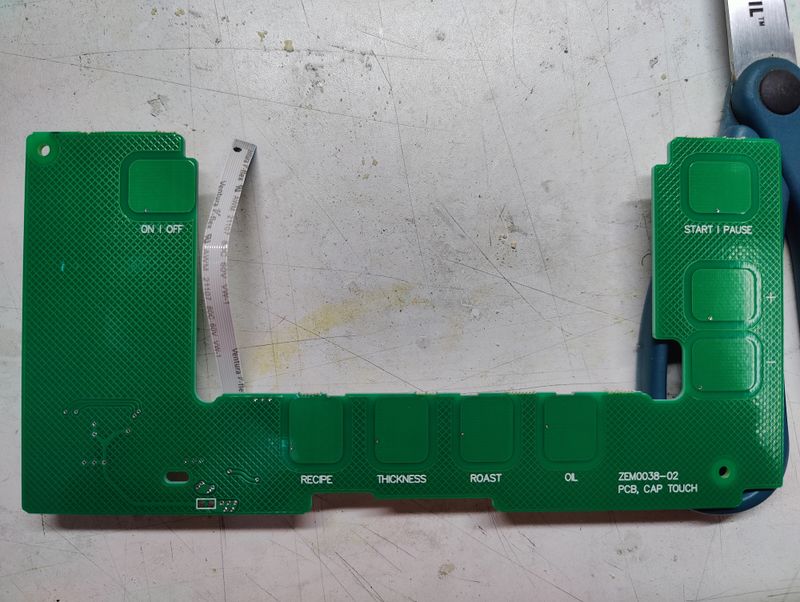
(Close up of IC for capacitive touch input. Curved traces and bank of parallel capacitors. ZEM0038-02 PCB, CAP TOUCH)
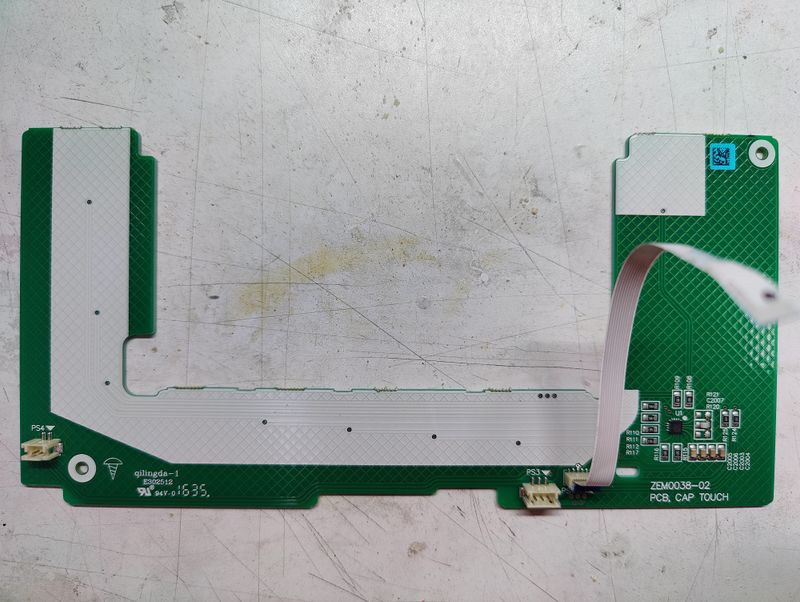
(Reverse of capacitive touch board with 16 pin QFN controller chip and flex cable. ZEM0038-02 CAP TOUCH PCB)
(ZEM0038-02 CAP TOUCH PCB ON | OFF (Top Left) START | PAUSE (Right) RECIPE - THICKNESS - ROAST - OIL (BOTTOM))
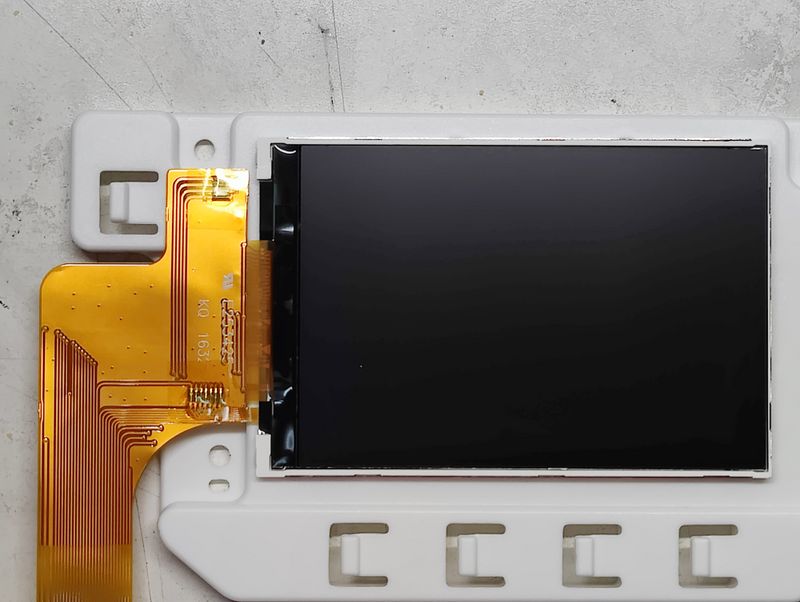
(LCD with flat flex used in main panel. The full display area is actually cropped with fully installed and portions of the edge of screen are not visible to the user.)
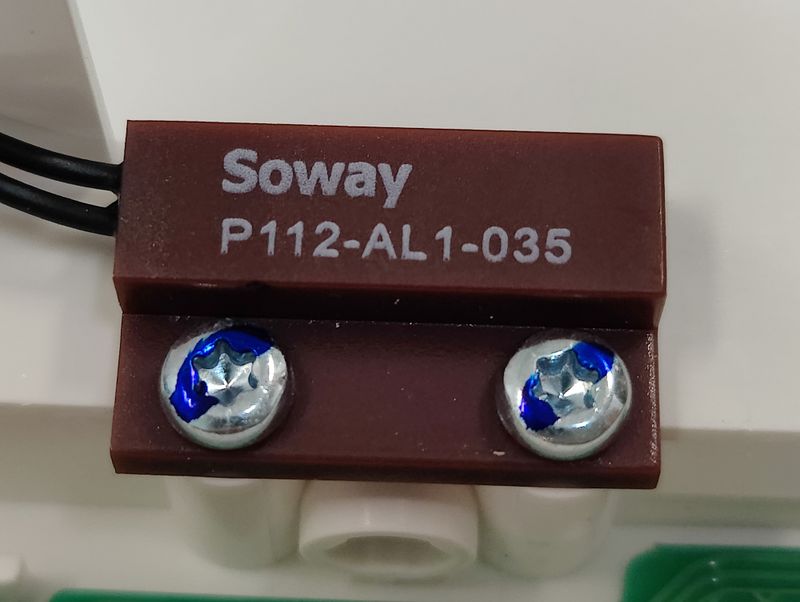
(Magnetic non-contact reed switch attached with two torx screws. https://www.sowaytech.com/sdp/302911/4/pd-1125040/20969316-2310150/SP111-AL1-035_Soway_Magnetic_Sensor_Switch_Non-con.html)
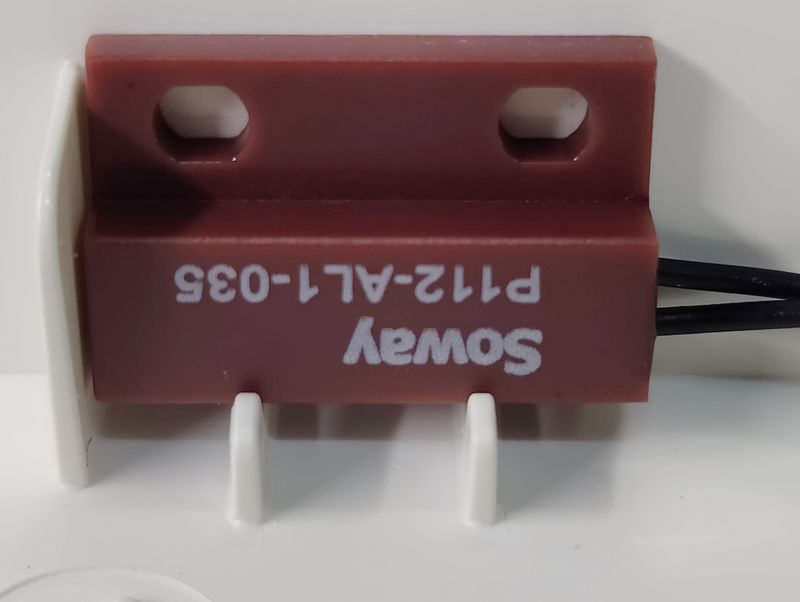
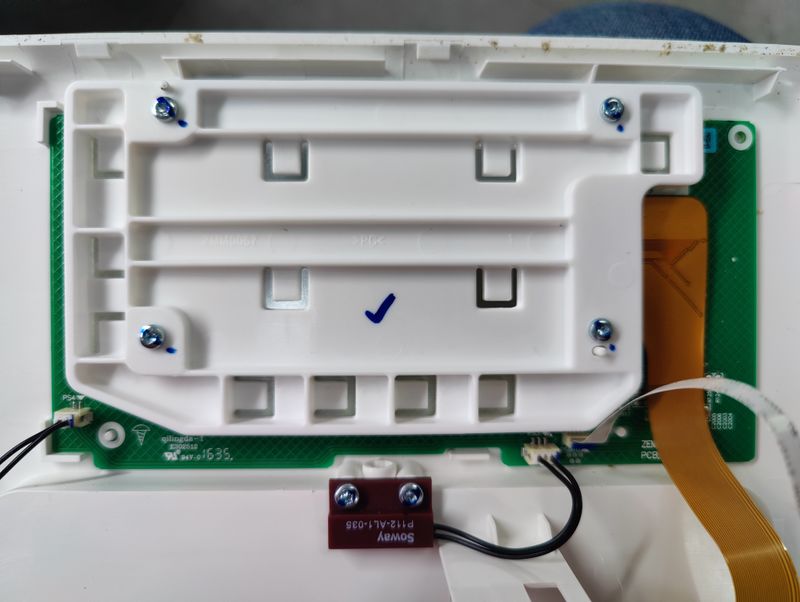
(Magnetic non-contact reed switch attached with adhesive. https://www.sowaytech.com/sdp/302911/4/pd-1125040/20969316-2310150/SP111-AL1-035_Soway_Magnetic_Sensor_Switch_Non-con.html)
(Main panel LCD and capacitive touch button assembly. Attached with 4 torx screws. One of two door closed sensors shown, PS4 connection on left goes to second sensor.)
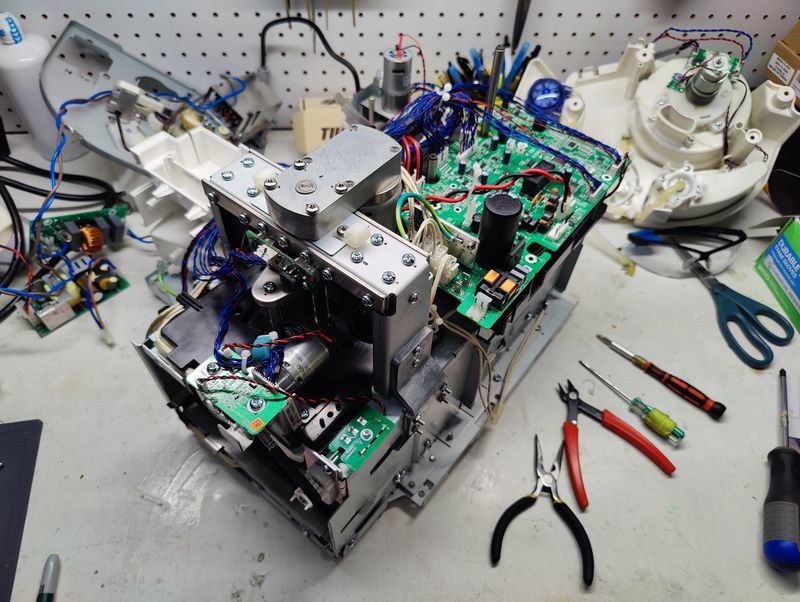
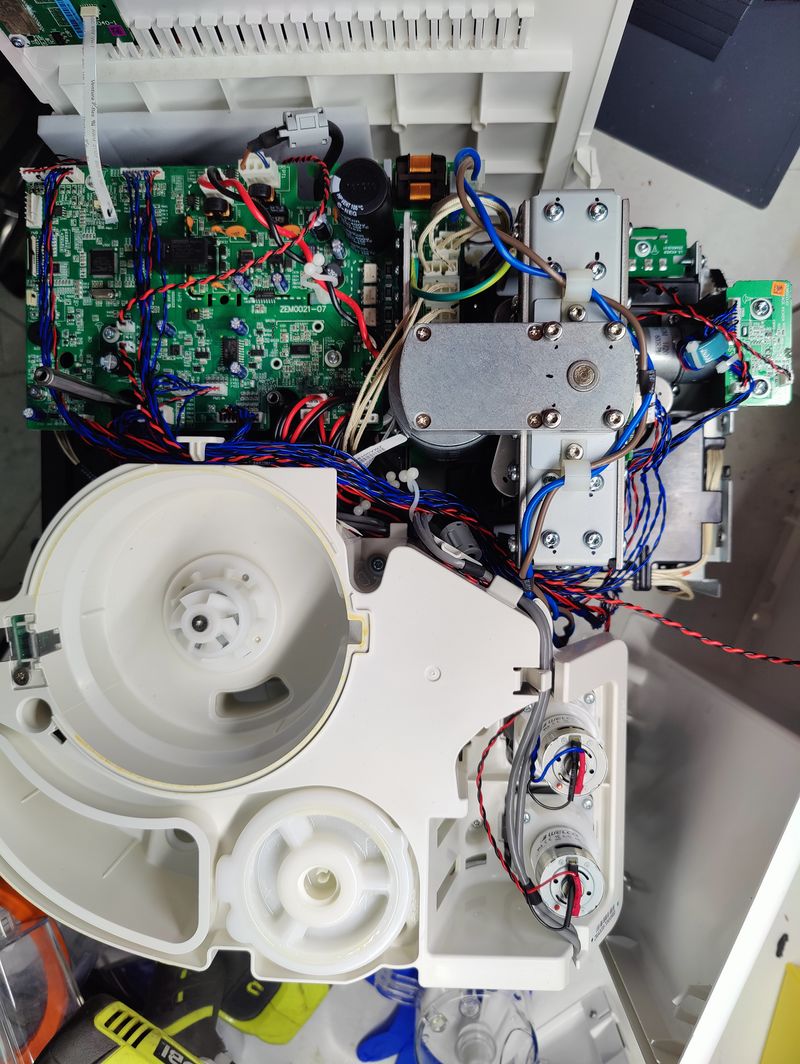
(View of entire machine from the top with cover, front and back panels removed. Note side panel with wireless module flat flex at top left. 2 twisted pairs of red/black wires connecting in lower middle left of main board. Upper pair goes to side panel. Lower pair goes to rear fan (right side of picture). Front panel screen flex connector towards top of left edge of board, next to buttons flat flex just below it. Two mains pairs of AC wires brown/blue independently routed one directly to right...)
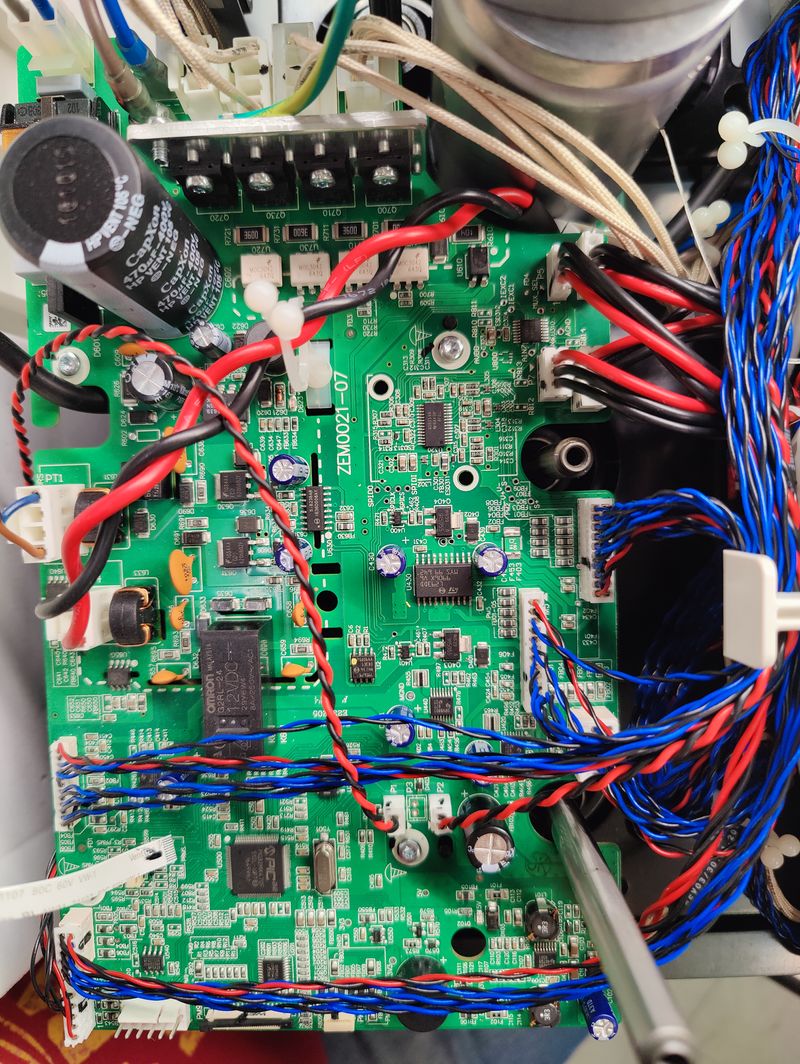
(PCB: ZEM0021-07 PIC32MX470F512L-I/PT MIPS32® M4K™ PIC® 32MX Microcontroller IC 32-Bit Single-Core 80MHz 512KB (512K x 8) FLASH 100-TQFP (12x12))
(Wireless board with 802.11 b/g/n bluegiga module and flat flex connector.)
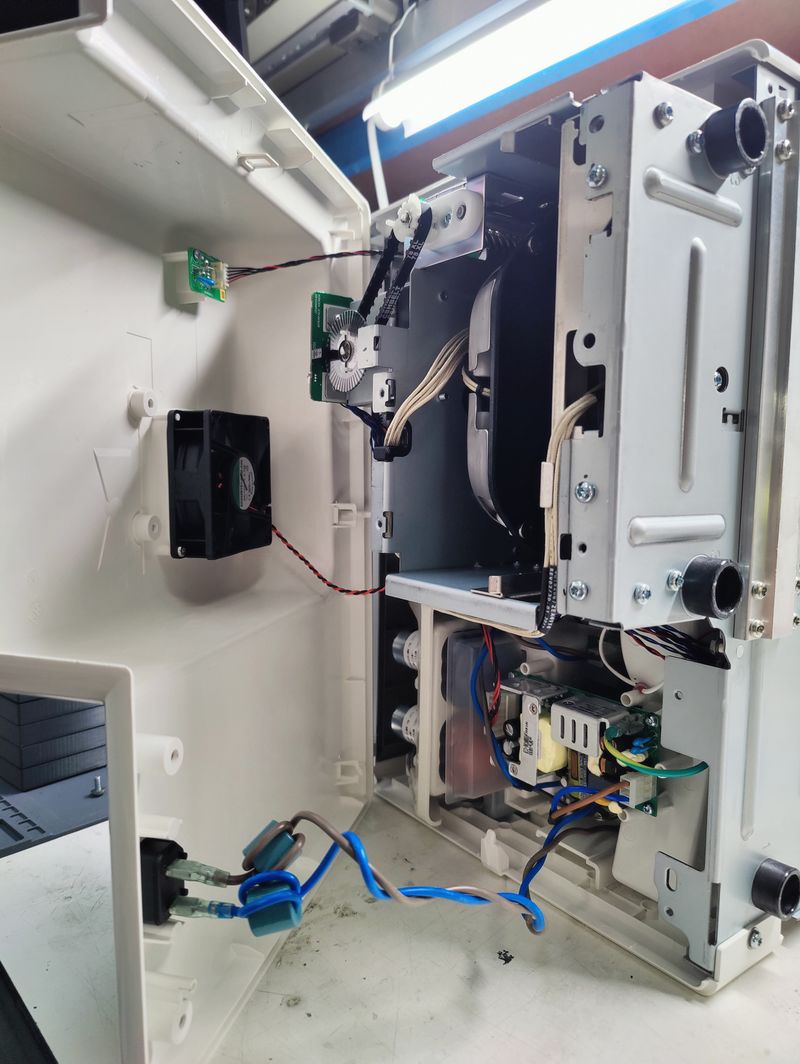
(Opening rear cover after popping plastic latches and removing T20 screw from bottom. Fan wiring passes to connector on top of main board, one of two. Upper board with 5 wires is external USB connector, presumably for thumb stick to reflash firmware. 2 wire AC mains, brown and blue with ferrites. Not shown reset-able 2 prong plug for connecting to outlet.)
(The entire device prior to further exploration.)
